It’s that time of year again! The crisp, cool breeze blows beautiful orange and red leaves around the yard. Writing this I can almost hear the autumn leaves crunch beneath my boots. Fall is by far my favorite season. I love everything about the weather and of course anything pumpkin spice! That being said, I much prefer neutral home decor vs traditional orange fall decor. If you’re like me here are a few of my favorite neutral finds of the season!
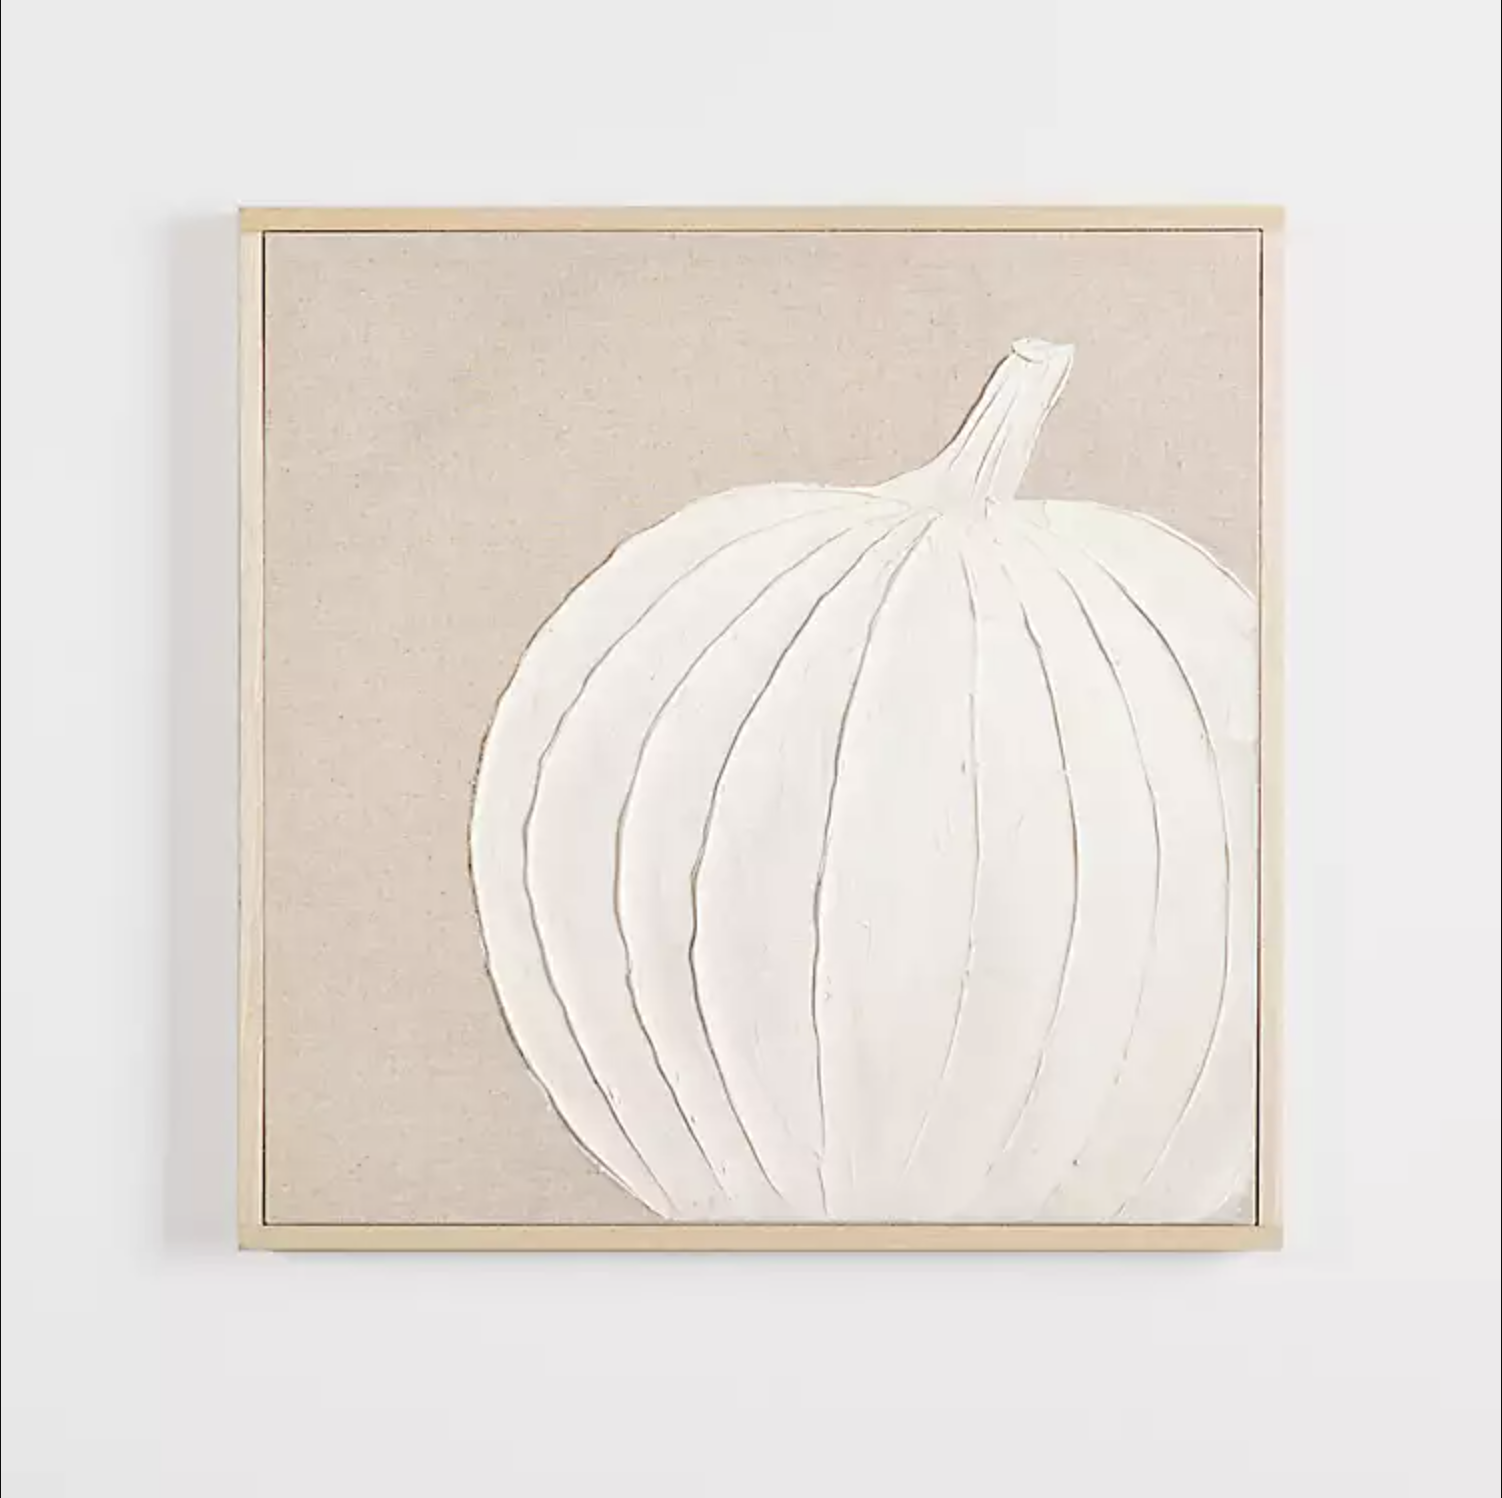
WALL ART
Wreath: LINK | Leaf Canvas: LINK | Letter Board: LINK | Pumpkin Canvas: LINK
My son is turning two years old in a month, so I am in full planning mode! I want to make sure he feel extra loved and special on his birthday. Of course one of the ways I want to make him feel special is through birthday gifts! At first, I had a somewhat difficult time thinking of ideas. Once I sat down and really thought about his personality, the ideas came flooding in. That being said, I can’t keep all of these ideas to myself! I figured maybe some other mamas, grandmas or best friends may need a few ideas and tips when buying their toddler gifts.
Here are a few things we are getting my son along with a handful of toys he already has and plays with daily:
1. Magnetic Tiles I love watching his little mind think of structures to build and then watching the joy he gets out of watching the tiles crash to the ground when he is done building. This set is $60 full price but often times goes on sale.
2. Transitional Scooter + Helmet This scooter is great because it transitions with your child. Right now, we push my son with the handle, but he is quickly learning how to sit and scoot around on his own. Once he is is a little older we will remove the seat and push bar and he can use the scooter by standing. Scooter is $119 full price.
3. Puzzles My son can never have enough puzzles, so we are adding to his collection. This set is a great value at $25 full price and goes on sale often.
4. Dress-up Clothes (Costumes) My son watches my daughter twirl around in her princess dresses, so I want to get him some dress-up clothes he can play in too! These costumes are $50 full price, but I got them for for $35. Watch for sales!
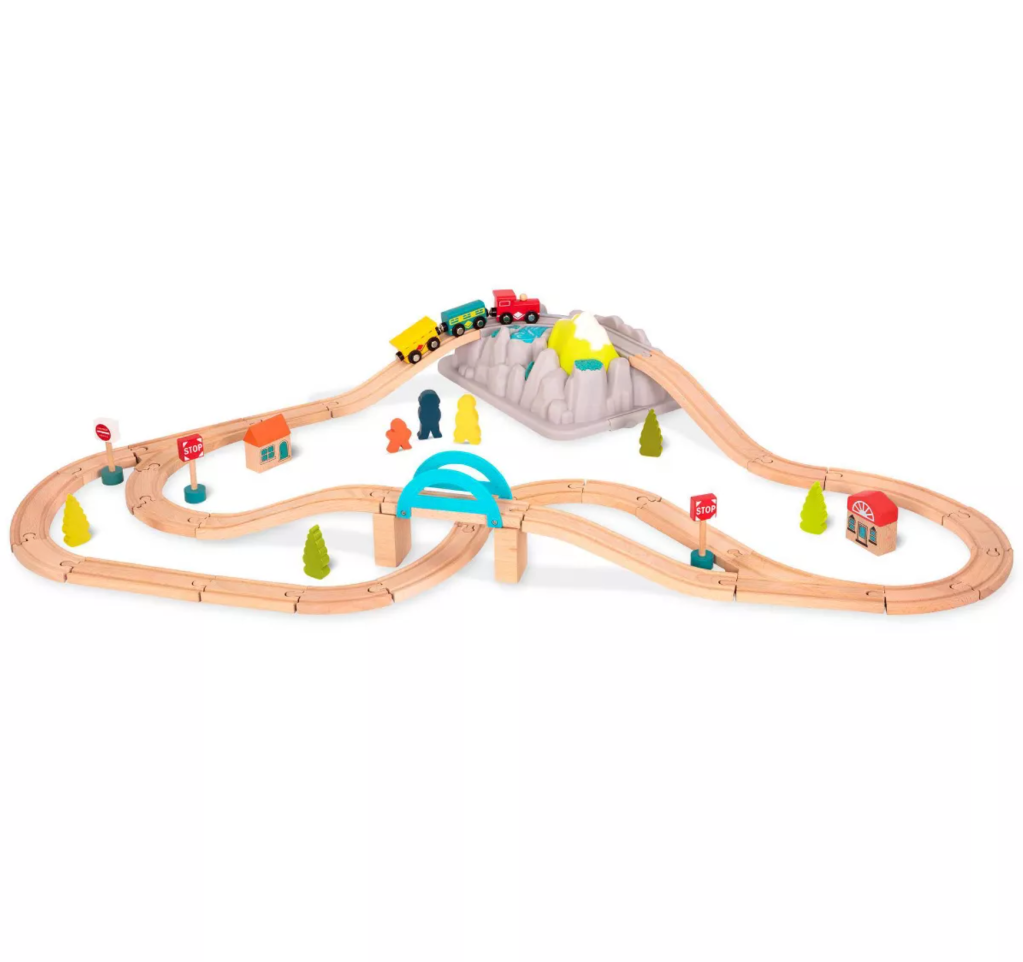
5. Train Set We actually got this for my son for Christmas when he was 14 months, but he is just now enjoying it at 24 months. He loves helping us build the track and driving his “choo choos” over the tracks. This set seems very age appropriate and is a good price point for this 2-year old age. I will say my 3.5 year old daughter really likes this too. *Disclaimer: This set has slightly small pieces, so keep a close eye on your toddler This set is $33 full price.
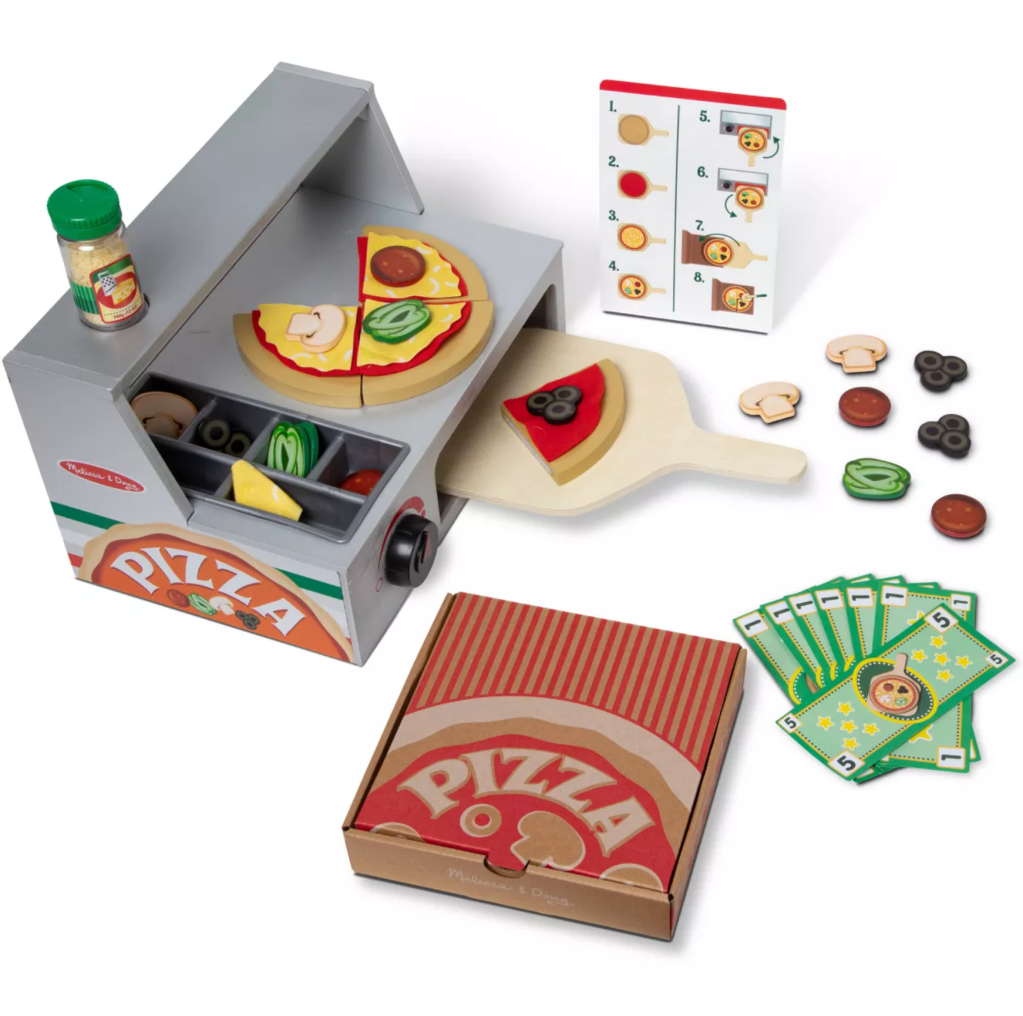
6. Wooden Food Sets My son has this ice cream set and he LOVES it. I did not realize how much of a hit it would be when he got it for Christmas. Since Christmas he has played with it every single day and we are already approaching another holiday season. That being said, we are going to get him this pizza set as well in hopes it will be another big hit. *Disclaimer: This pizza set has slightly small pieces, so keep a close eye on your toddler Ice cream and pizza kits are $55 full price
7. Soccer Goal I love this as a gift because if you have a basement you can play with this indoors in the colder months and move it back outside once it’s warm enough. I especially liked this goal because the net, ball and pump are also included. This goal is $40 full price.
8. Books You can never go wrong with books! This is a great gift idea for a friend’s birthday party, because of course books are affordable. Here are a few of my 2-year old son’s favorites.
9. Dinosaur Figures My son loves everything dino! So, we are excited to give him this dino set in a few weeks. We like these because these dinosaur figures are posable and a few have buttons to press for more action. RAWR! This set is $49 full price.
10. Water Table If you don’t have a water table for your toddler yet, you really need one! This has provided my toddler girl and boy hours of entertainment throughout warmer spring days and summer. Worth every penny! Water table is $93 full price, but I got ours on sale!
I hope this helps making your shopping experience a breeze. Tag me on Instagram so I can see your little one’s face when they open their special gift.
Although I am happy to provide these gift ideas and to also gift my son with a few of these items, I want to remind you that your little one feels most love spending time with you and your time and influence is the greatest gift you can give.
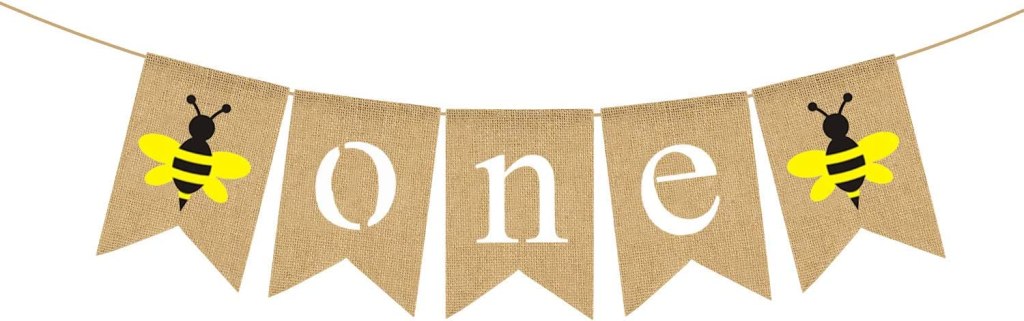
Happy 1st “Bee”-Day to my baby girl (I can’t believe this was two years ago now)! I absolutely love being a girl (and boy) mom. It was so special watching my daughters eyes fill with joy as she took in all her birthday decorations and the love she felt from friends and family.
I was pregnant during my daughter’s first birthday. Although I wanted her to feel special, I needed to keep things simple and easy. If you are looking for a cute, easy first birthday idea party idea, you’re in the right place.
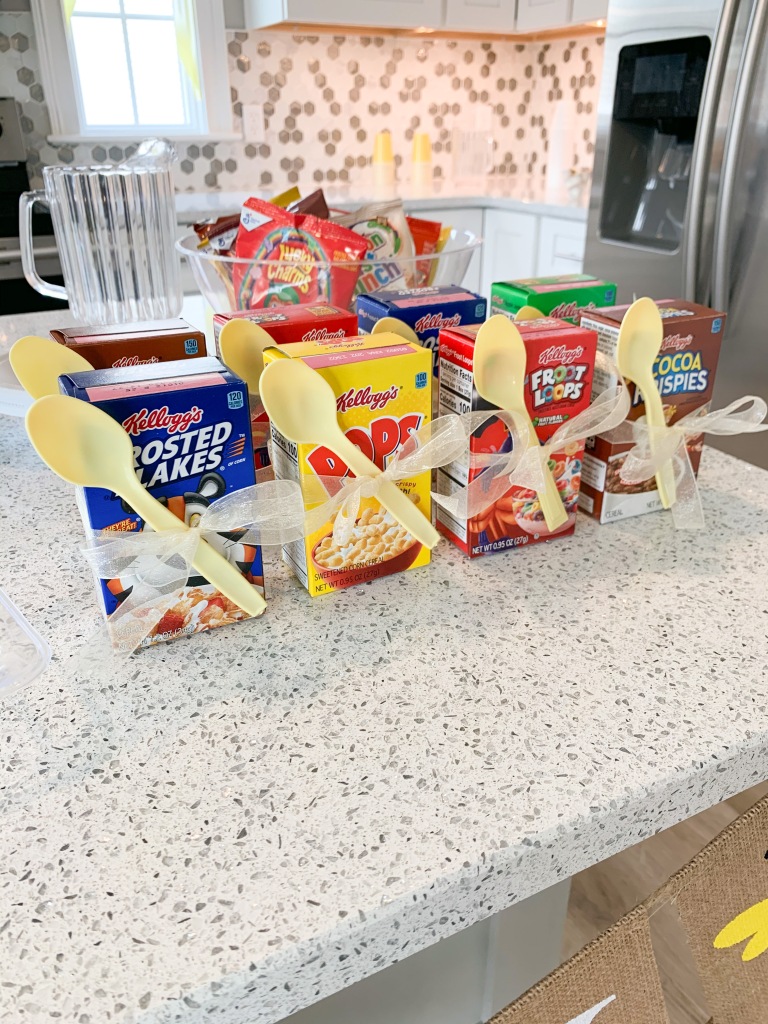
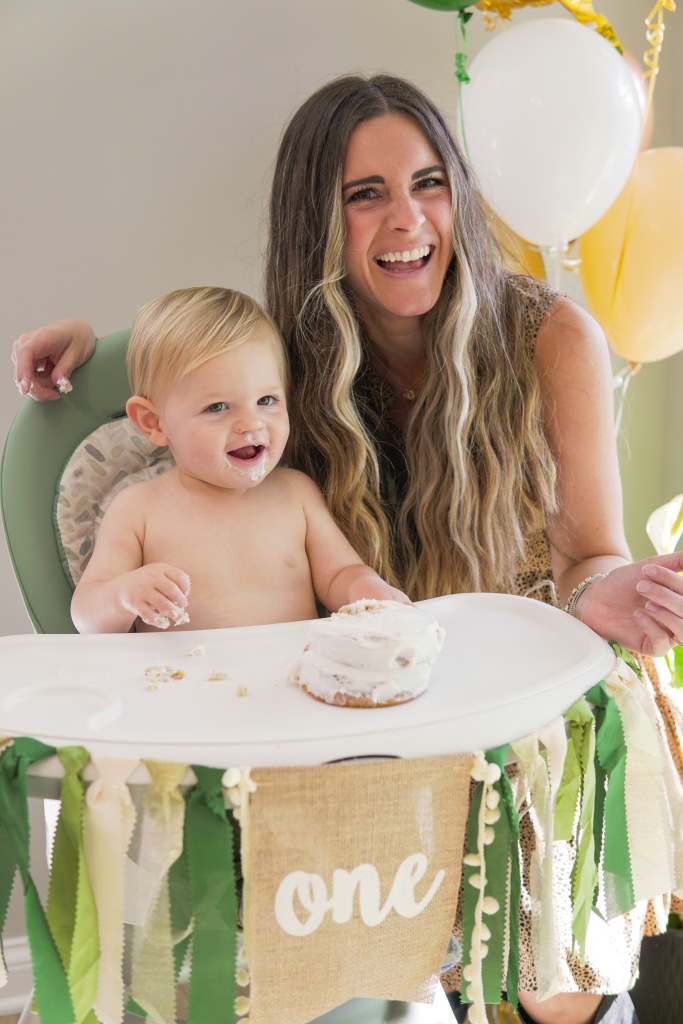
Let’s dive right in and talk about the decor. I kept things super simple. I bought a few “happy first bee-day” banners for the kitchen and fireplace mantle and I purchased a “one” high chair banner. Other than that, I got a few balloon bouquets and then let the food be the rest of the “decor.”
The birthday party was a brunch. I found cute little bee picks for the mini pancake stacks. I used those same bee picks to decorate the cake. I also bought a gold “one” cake topper. To further incorporate the “bee” theme, I made an on theme “trail mix.” The bee themed trail mix included Honey Comb cereal, Teddy Grahams and Reese’s Pieces. This mix was surprisingly a major hit. I ordered custom bee themed cookies as well.
This girl is on a budget! I purchased a few of the dinnerware items from Dollar Tree. Dollar Tree is a great resource for plates, napkins, utensils etc. That stuff is just going to be thrown away anyway. No need to spend high dollar on dinnerware (unless of course your meal requires a more sturdy plate). The rest of the decor came from Target and Amazon. I will link what I can below.
Overall we had the best day and I am so thankful for the memories made. I cannot wait for my sweet girl to look back at the pictures taken and feel the love that we have for her.
My baby boy isn’t so baby anymore! I cannot believe he is already over one year old now. I assume if you’re reading this you have a little one too. This is your reminder to hold on to each moment (good or bad) with your baby because they grow up so quickly!
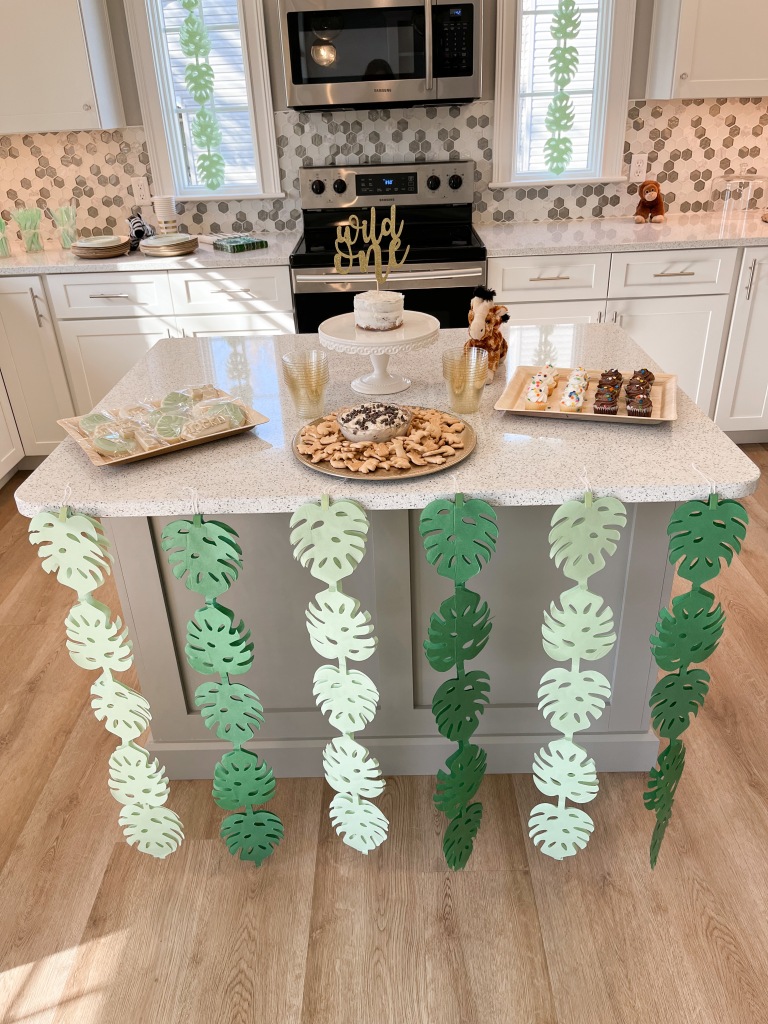
When planning Locke’s birthday party I wanted to make sure the party theme reflected his personality. Locke is my wild boy. He is always on the move and running around. Also, one if his first “words” was roaring like a lion. That being said, the “Wild One” theme was perfect for him!
Not only did I want the party to reflect his personality, but I also wanted it to be affordable, because let’s be honest, my friends and family don’t care about anything too fancy. I knew as long family was around, my son would feel loved regardless of how much money was spent.
Let’s talk about the “Wild One” party details.
Decor: I took the safari approach and placed stuffed animals all throughout the home and food set up. Thankfully, my kids loved stuff animals, so I did not have to purchase any new. I used leaf streamers throughout to support the jungle or “wild” vibes. I found many banners and signs that said “wild one” or “one wild year” and placed those around as well. I bought a few balloon bouquets and a highchair banner and called it done as far as decor goes.
Food & Tableware: I was able to find disposable plates with leaves on them along with matching napkins. I also found the most durable wood-like disposable plates. I am not kidding you, these are the best plates ever. Countless people commented about how nice and quality the plates were. The only “on theme” foods I had were custom sugar cookies and animal crackers to dip into edible cookie dough (here is the recipe, it was a major hit)
I will link everything from the party that I can. Over all, the party was a major success and I was pleased with how it turned out.
When planning your child’s birthday party, just have fun and try to relax. No one truly cares about a spotless house and fancy decorations. Everyone who comes is there to love your little one.
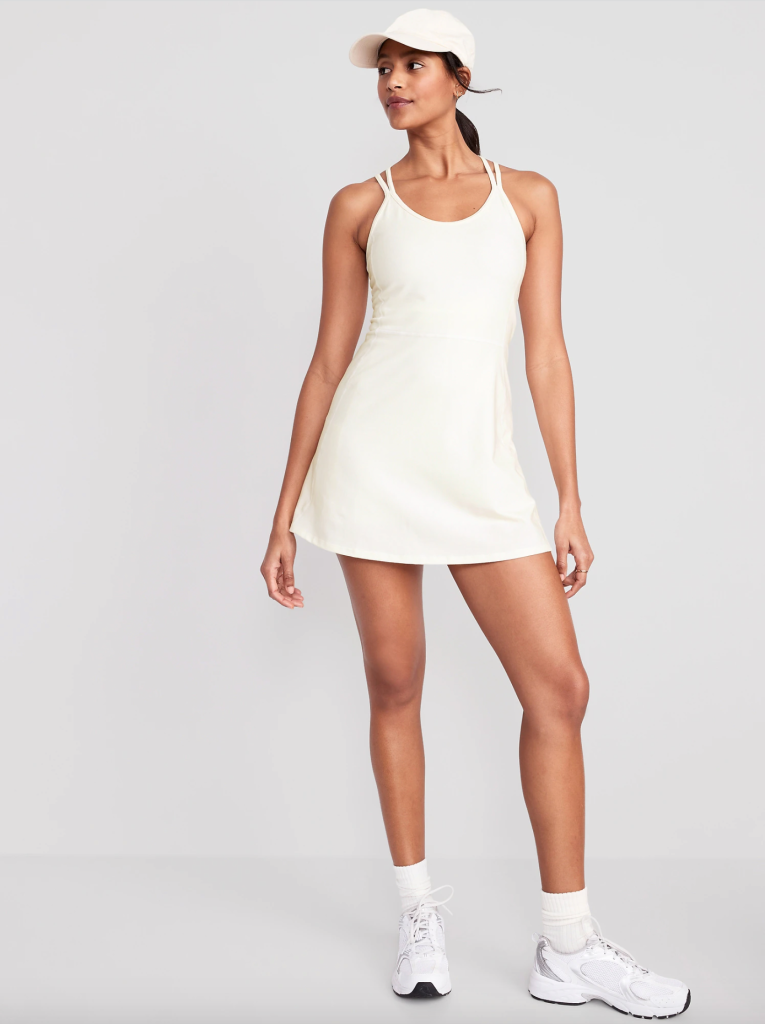
I’m sure by now you either have an athletic/active dress or have seen them around! I don’t know about you, but I LOVE this trend. This style of dress is super easy to grab and throw on to feel cute and comfy. I like this dress in particular, because of the built in bra and shorts. Prefect dress for playdates, errands, park hangs and even a casual outdoor date night.
Here are 5 ways to style your athletic dress:
1. Baseball cap and tennies- Throw on your favorite baseball cap and tennis shoes for an easy, cute look to run errands in. You could also wear this to a baseball game or playdate with the kids.
2. Plain Jane- This dress is cute on its own. You can easily just wear this dress as is. Throw on a cute pair of comfy shoes and maybe add a claw clip and you’re good to go.
3. Denim jacket- If you’re looking for a casual date night look, throw on a denim jacket.
4. Drapey shirt- Another good date night or lunch look is adding a drapey shirt over the top of your active dress.
5. T-shirt- Tie a t-shirt over your dress and head out to Target or other errands.
You could easily add a cross body bag to complete the look.
I am linking some similar dresses and a cross body bag below!
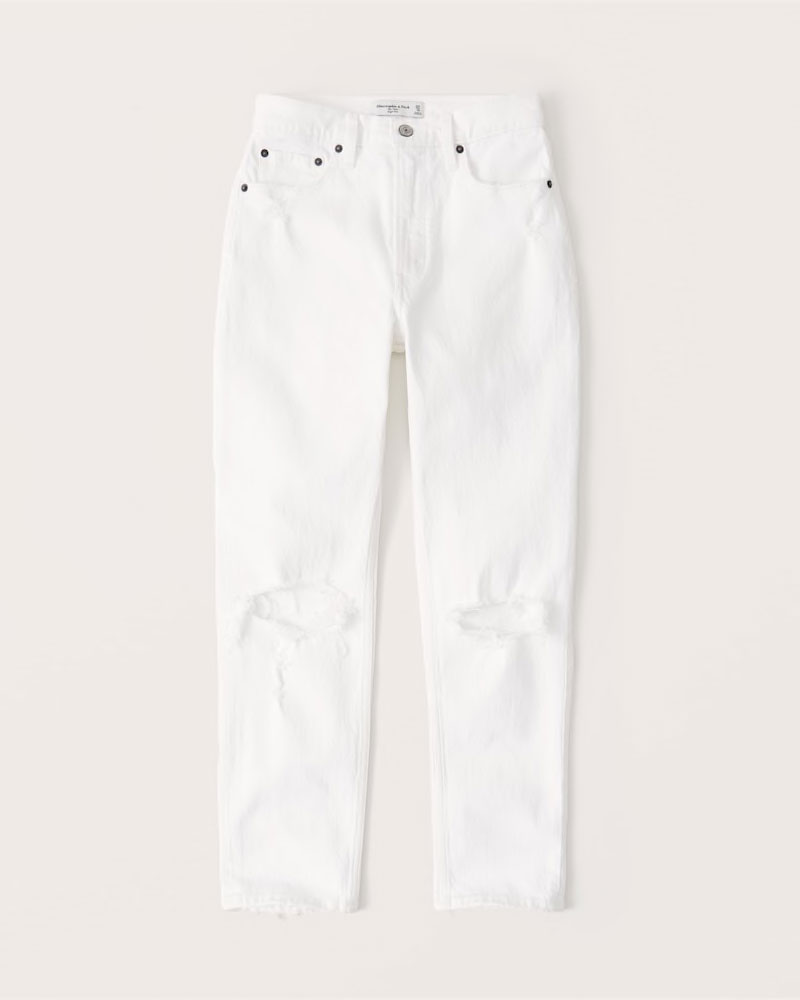
This past year my husband and I have been paying extra attention to our budget. With the birth of our daughter and COVID happening, we just thought it would be wise to save the best we can. I am sure many of you can relate to this. As I was thinking about updating my wardrobe with new spring pieces, I realized I could make many outfits with the pieces I already own! Now, I still may want to add a few new staple pieces, but I decided I can make what I have work. All you have to do is get creative and wear your staple spring pieces multiple ways.
If you are looking for a few spring outfit ideas with things you may already own, I’ve got you covered!
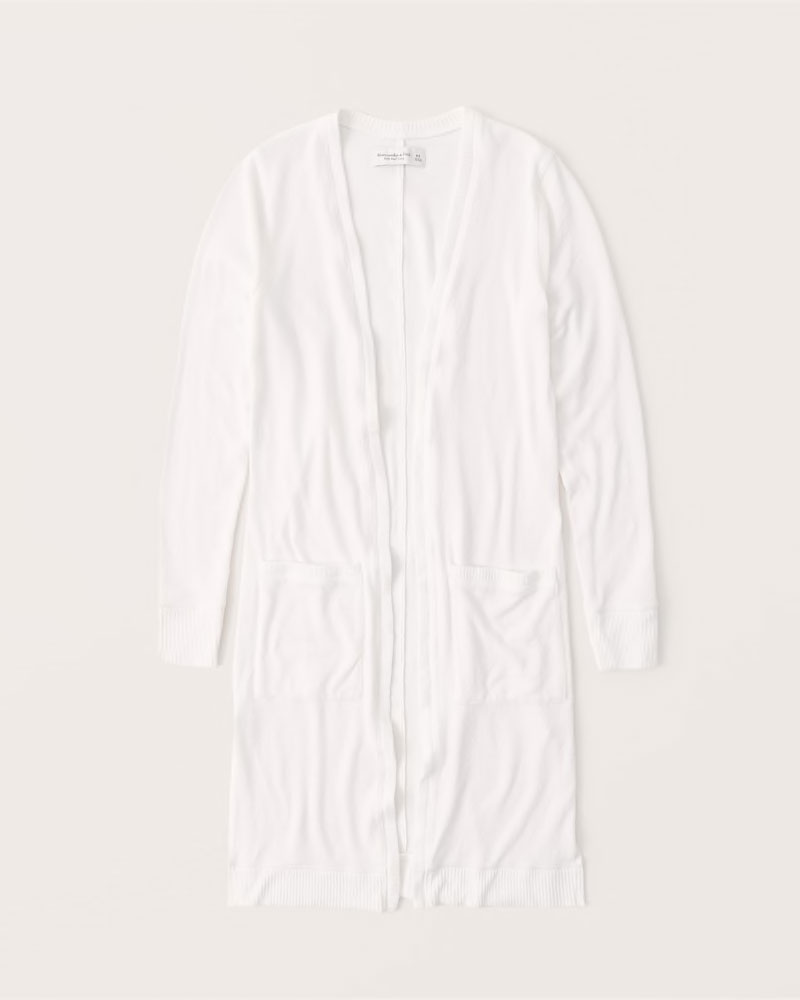
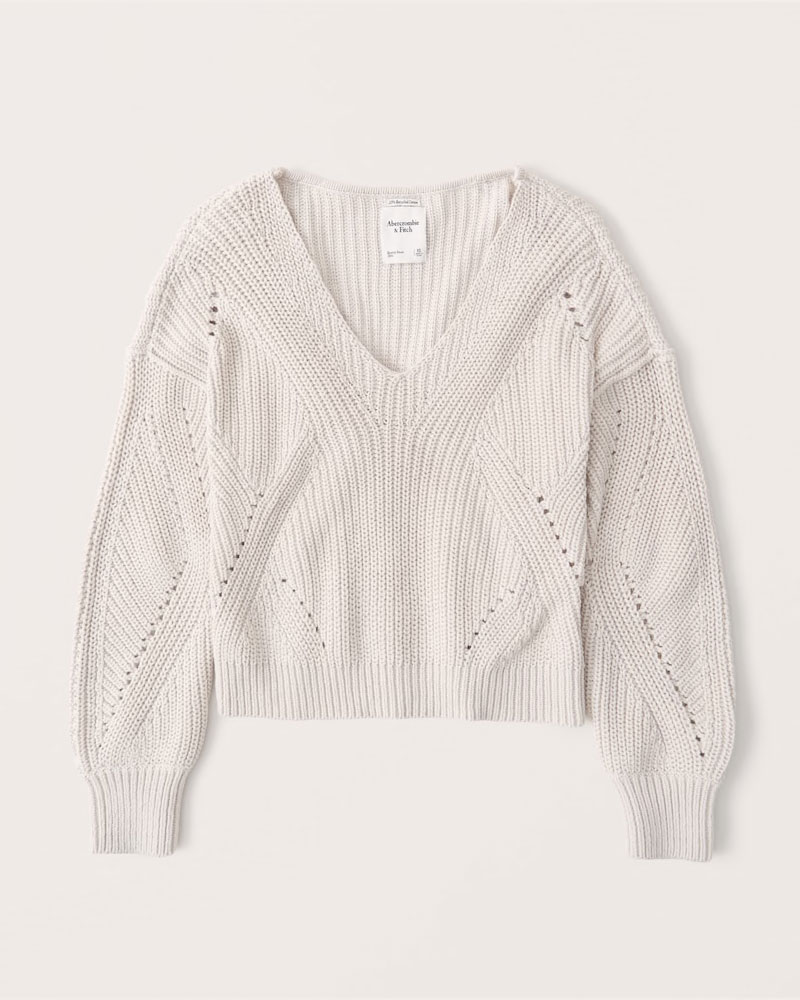
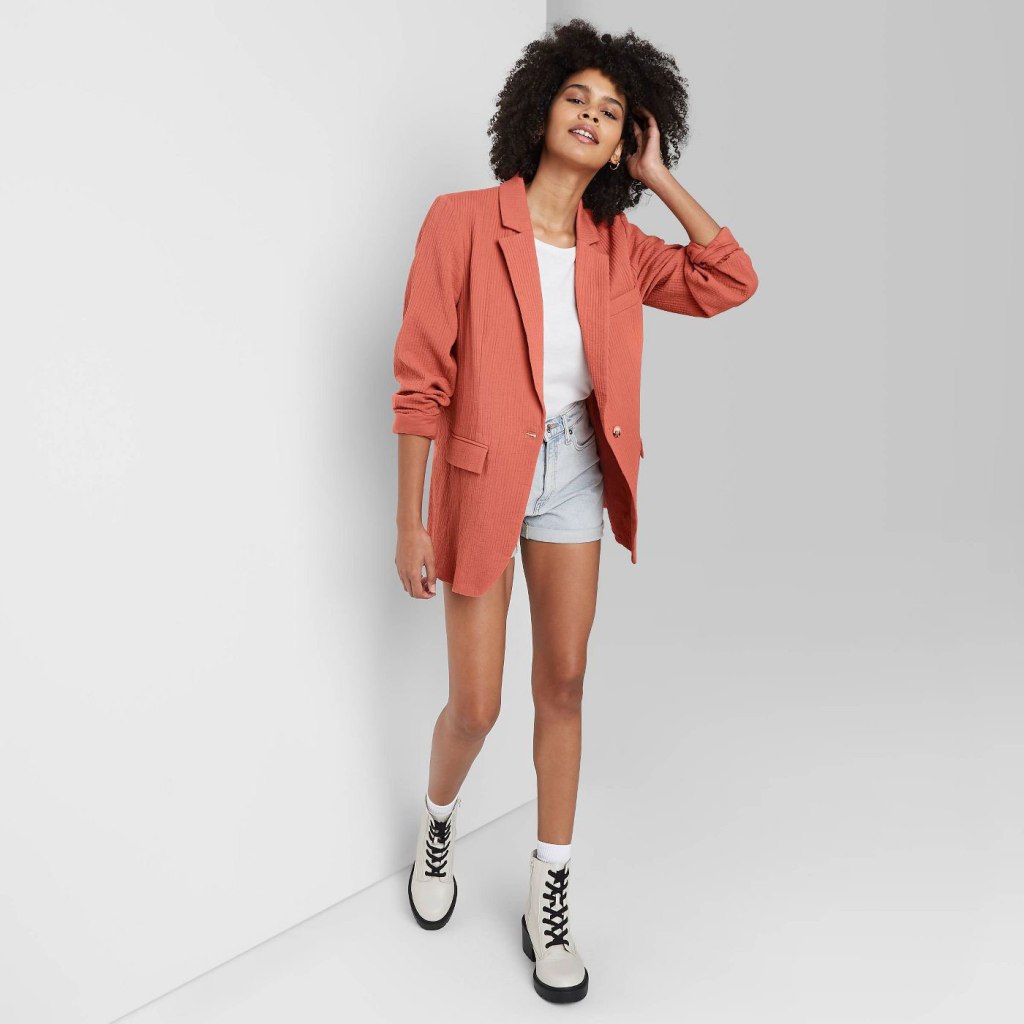
Here is what you’ll need: a cami, white or light colored cardigan, white and light denim, white sweater, chambray top, oversized shirt, graphic t-shirt, blazer, high waisted shorts, joggers or leggings and a mini or midi skirt.
As you can see, you really only need a handful of items to make multiple different outfits from. I have come up with with 11 classic outfits for you to copy, but I certainly could have come up with more!
Outfit #1: White Cami, White Cardian & Jeans This type of outfit is perfect for a casual date night or lunch with the girls!
Outfit #2: Cami, Blazer & High Waisted Shorts This is another fun date night or girls night out look. You could wear it with heels if you want to dress this look up a bit.
Outfit #3: All white everything! White cami, cardigan & jeans You can wear this look to brunch, errands (with sneakers), lunch, date night, etc! So many possibilities.
Outfit #4: Cami, Cardigan & Mini Skirt/Skort I love this look for date night or girls night out. My husband really likes this look, too! 🙂
Outfit #5: Sweater & Midi Skirt This look is great for brunch, church, work or date night! I tucked my sweater into my bra to make it more cropped.
Outfit #6: Sweater & Mini Skirt This look is essentially the same as outfit #5, but the mini skirt is more playful and casual. This is a fun date night or brunch look. Just like outfit #5, I tucked this sweater into my bra to make it cropped.
Outfit #7: T-Shirt & Joggers If you’re in need of a cute, comfy running errands or hanging out at home outfit, this is it! If you have a denim jacket, tie it around your waist to add a little detail to your comfy look. This makes your outfit look more like a complete rather than just wearing plain sweatpants. If you don’t have joggers, you could easily wear leggings since the denim jacket will cover everything.
Outfit #8: Graphic Tee, Mini Skirt & Cardigan This look is great for a night out with the girls or date night! Heck, it’s comfy with sneakers, so I would run errands in this look too if I was feeling a little “extra” 😉
Outfit #9: Oversized Shirt, Graphic Tee & Mini Skirt Same as the last outfit, this is great for casual date night, girls night, lunch or running errands.
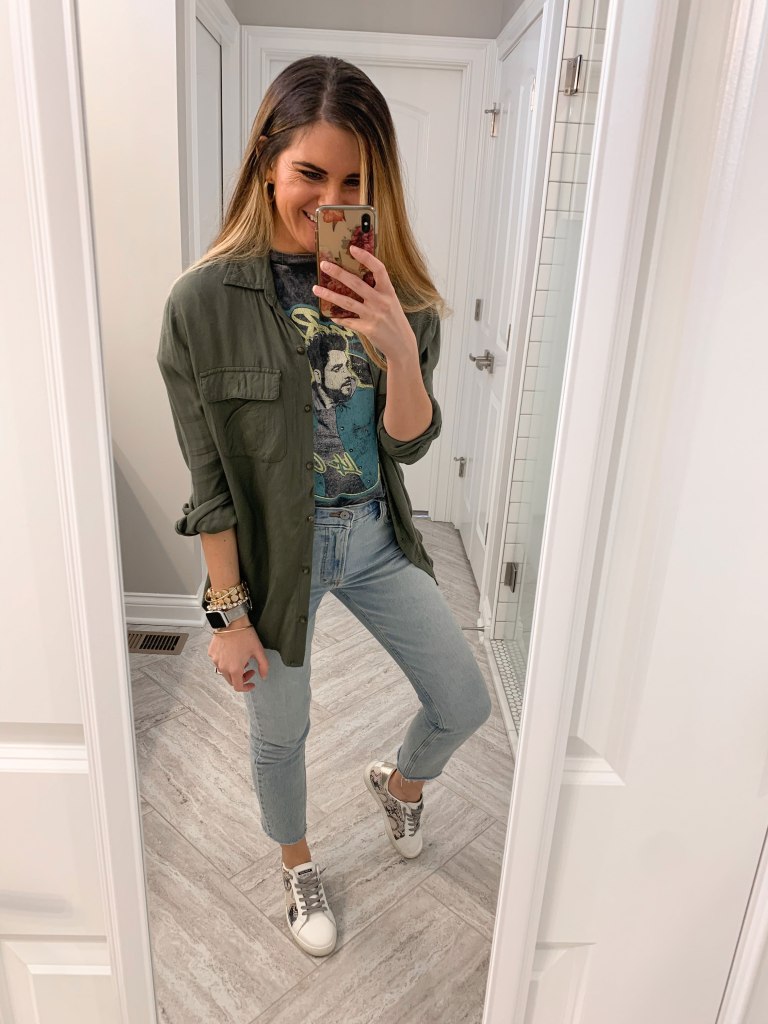
Outfit #10: Oversized shirt, Graphic Tee & Jeans I love this look for every day around the house or all those errands you have to get done! I would even wear this to lunch or casual date night. I am just not fancy enough to always be in dresses for date night, HA! If you wanted to dress it up a little bit, you could swap the sneakers for heels. I am wearing mom jeans in this picture, but you can wear whatever jeans you feel most comfortable in.
Outfit #11: Chambray Top & White Denim There could not be a more classic spring outfit than this! Will this simple look ever go out of style? I hope not! 🙂 This look is so easy and is great for all sorts of occasions. For instance, brunch, work (without distressed denim), church (if your church is more casual), date night, errands, etc! You get the picture. You can basically wear this outfit anywhere. You can dress it up or down depending on the type of jeans and shoes you pair the top with!
I hope this helps you get the most out of what you already have in your closet! In case you do not have some of these pieces and have the budget to add a few new affordable pieces to your wardrobe, I am going to link a few similar items from my favorite retailers below.
If you’re like me, you’re always searching for quick, simple hair styles. As a new mom, I am looking for natural hairstyles that will hold up in between washes. One of my go to looks is beachy waves. I love how the curls hold up and its easy to do. Unfortunately, it’s not super quick for me because I have so much hair, but if you have a normal amount of hair, this look should be quick and easy for you to achieve — HA!
I will walk you through step by step, but here are a few things to note. I always do this with clean hair, because these curls hold up well for days and can be styled many different ways in between washes. For example, a cute half up messy bun or a beachy pony tail. Also, I am always sure to use heat protector on my hair before styling. I use a 3/4 inch curling iron when creating these loose, beachy waves.
Achieving Beachy Waves Step-By-Step:
Section hair off if you have thick hair
Grab a small piece of hair
Wrap hair around curling iron HORIZONTALLY
Hold curling iron horizontally for a few seconds
Repeat until your whole head is curled
Brush curls out with fingers for a more natural, “lived in” look
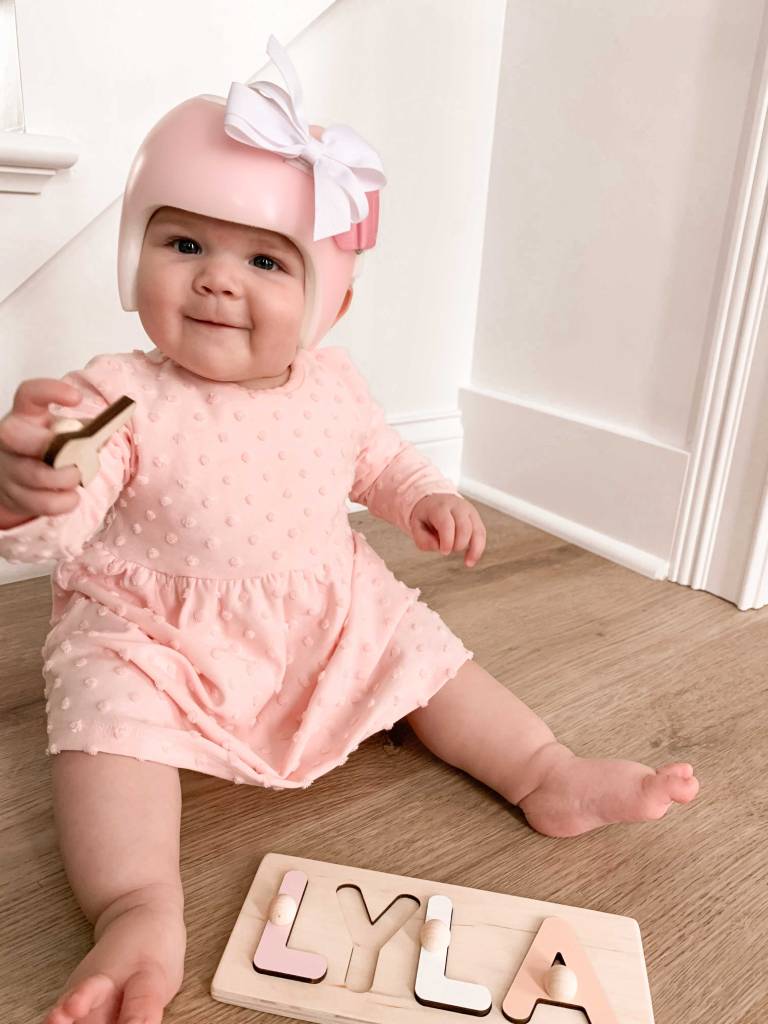
My corrective helmet journey began long before Lyla’s did. The moment I found out there was a chance that Lyla would need a helmet I began researching and praying like crazy. When Lyla was three months old, her physical therapist suggested that Lyla was probably going to need a corrective helmet to fix the flat spot on her head. She said we’d need to go see a specialist, but in the mean time try to keep Lyla off her head as much as possible. So, that is exactly what we did! We limited time in the stroller and carseat, tried to do extra tummy time (which Lyla DID NOT like), propped her on her side during monitored naps and tried to hold her upright. We did all of this for about two months before going to see the specialist. I was convinced that we “fixed” her head all on our own and the helmet would not be necessary. Boy was I wrong! When we went to the specialist, they took a scan of her head and the results put her in the “severe” category for her flat spot. I was CRUSHED. The mom guilt poured in. “If only I would have done more tummy time.” “What will people think of the helmet on her head?” “Is it going to hurt her?” “What about her cute bows?” “Did I cause this to happen to her?” “Will she resent me if I don’t go through with the helmet?” I had so many thoughts and questions regarding the helmet and I wished I had more people to talk to about it. I strongly considered not going through with the helmet for selfish reasons. My husband and I prayed a lot about it and decided that ultimately it was the best thing for our sweet girl. If you are going through this process or about to, just know if your feeling “mom guilt,” you’re not alone. Although you may have some guilt, I encourage you to let it go! You are the best mama for your little one and you did nothing wrong!
By the time we went through all the steps, Lyla’s helmet journey finally started when she was eight months old. She is now nine and a half months and I want to share what we have learned about wearing the corrective helmet.
(Left to right: Lyla’s head before helmet, Mom guilt setting in before getting helmet, First day with helmet)
One Month In — Here’s What I’ve Learned
Although its only been one month with the helmet, we have learned a lot! Let me start by saying it is going WAY better than expected. I expected Lyla to hate it and have it disrupt her whole schedule we have worked so hard on, but that was not the case at all. I am a very “type A” type person. The last thing I wanted was something disrupting Lyla’s schedule, but the helmet has honestly not been a problem.
I went into the helmet process thinking, “Poor Lyla has to deal with an annoying helmet.” Thankfully, Lyla doesn’t even seem to notice it! From day one she has not seemed bothered by it. Once your baby gets the helmet, the specialist will probably suggest a schedule to transition your baby into wearing the helmet for 23 hours a day. On the first day, Lyla only wore the helmet every other hour and did not nap or sleep in it. From there she wore it longer and longer during the day until after a few days she was wearing the helmet 23 hours a day. I think this schedule really helped! She got used to wearing it enough that it did not bother her naps or sleeping. One of my biggest fears going into things was that Lyla was not going to sleep well. I was so thankful when her sleep was not disrupted at all.
I was also a little worried what friends and family would think of the helmet. I was worried about strangers staring at her in public, too. Thankfully, friends and family have been very understanding. The general public either does not say anything or they comment about how cute she looks with her big bow. I added the big white bow to her helmet with velcro. I do have many passerby’s mention how cute the bow is. I got her bow from Etsy. We have only had one person ask why she was wearing the “hat.” The man was super nice about it when he asked. I think he was just curious!
Honestly, the worst part about the helmet has been how sweaty her head gets. When we take the helmet off to clean it, you can see the how badly she has been sweating. We try to dress her in thin clothing as much as possible to keep her a little more cool. Cleaning the helmet is super easy and does not take too much time. We also wash her hair twice a day to prevent irritation. The helmet has also rubbed off a lot of her hair. It’s a bummer, but nothing big bows can’t cover once she gets the helmet off! We are a big fan of bows around here.
We are a month into the helmet and we probably have 1-2 months left. I was really hoping she’d need it for less time, but that just not the case. Although I miss sniffing and kissing my little girl’s head, I want what is best for her, so I am not going to rush the process. Her progress may be a little slow, but she IS making progress, so that is encouraging!
To summarize here are a few tips when starting/walking through the helmet journey:
It’s going to be okay and you are the best mama for your sweet baby
It won’t be as bad as you think (Hopefully! I know every baby is different)
Don’t let what other people think keep you from doing the best thing for your child
Keep your baby’s helmet somewhat neutral so you do not get sick of a crazy pattern you cannot replace later on
If you have a girl, add a bow for a fun touch
Dress your baby in cool clothes to reduce the amount of head sweat
Don’t rush the process
Potential preventative tips: (I am not a doctor, this is just what the specialist told me to do for Lyla)
Do lots and lots of tummy time even if your baby does not love it – Get creative — do tummy time on your chest, legs, Boppy pillow, tummy time mat, etc.
Once baby is out of the swaddle, let them sleep on side or belly during MONITORED naps (keep a close eye on your little one if you do this)
Limit time in swings, strollers and carseats
Use a baby carrier
Hold baby in an upright position
Alternate sides you hold baby with when feeding child bottle every other feeding
Consider physical therapy
I hope this gives you the strength and courage you need when starting your helmet journey with your sweet baby! If you personally are not going through this, keep this post in mind in case someone you know goes through it! 🙂 Please feel free to reach out with any questions you might have via the blog or my Instagram. I am here to help!
If you’re anything like me, you LOVE seeing people’s personal photos and reading about their pregnancy journeys. I think every pregnancy is special and a true gift from God. Before I share more about my personal journey, I want to preface this by saying this is simply just my personal story. I know there are many women out there who are longing to become pregnant or have suffered pregnancy loss. My heart breaks for those women. I have been praying for those I see come across my Instagram feed who are struggling to get pregnant. I am also praying for the women who may be struggling, but have not shared this publicly. I pray the Lord blesses those women with a child and that they can find strength in Him while they wait.
My story begins back in January of this year. I was at my annual doctor appointment where I mentioned my husband and I were hoping to start a family soon. This is when my doctor told me we’d better start trying now, because it may take a year or more for me to conceive due to some abnormalities with my uterus. This broke my heart. In my perfect, naive plan, I figured we would try for a couple months and I would just get pregnant. The thought of trying for a year or more and then “discussing next steps,” was definitely not what I wanted to hear. In my time of waiting, I drew closer to God more than ever before. I was constantly communicating with Him. I was asking Him to bless me with a child, but I was also asking for peace, patience and contentment.
Faint second line!
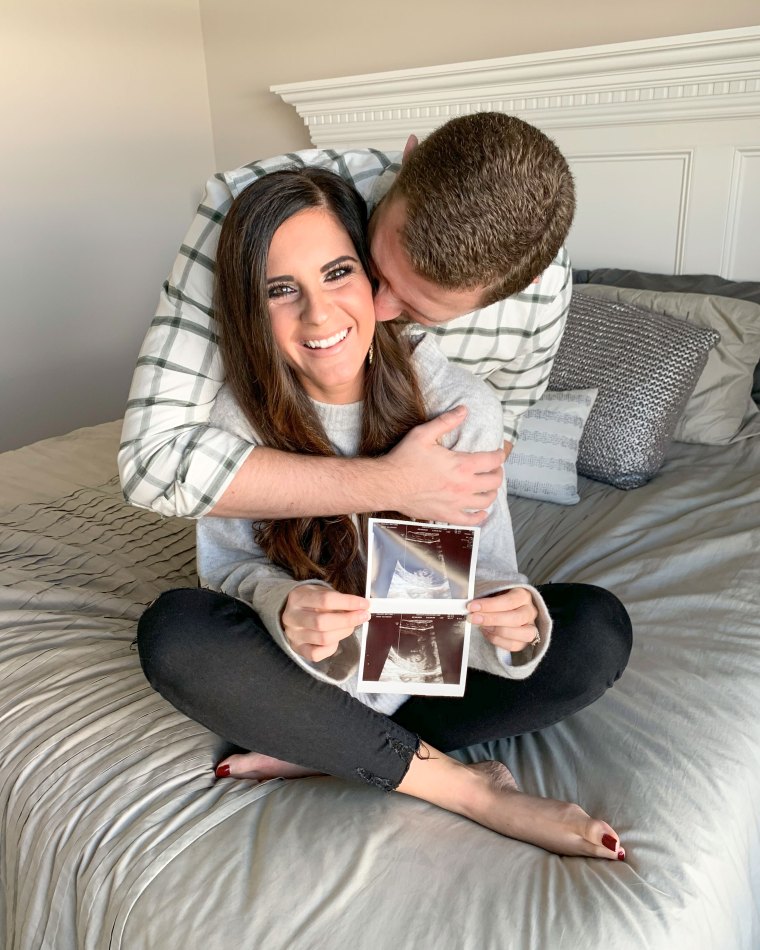
Let’s jump to August 26, the day before I was supposed to start fertility courses. I was only a few days late (which isn’t unusual for me), but I decided I might as well just take a pregnancy test. I had tons laying around anyway, so why not? I took the test and there were two lines…kind of. The first line was definitely there, but the second line was very faint. I didn’t want to get my hopes up. I ran to the drugstore and picked up one of those digital tests so I could see a clear “pregnant” or “not pregnant.” Of course with me being so flustered, I messed something up and I got an error message on the new test. At this point I was late to work, so I grabbed another test and took it to work with me. The same thing happened when I tried at work. I had a dark first line and a faint second line. I sent a picture to my doctor and she said it looked like a positive to her! I was giddy and over the moon, but I didn’t want to get too excited until I had the blood test done.
“Your hCG levels are rising, Brittany. Congratulations, you’re pregnant!” That was the greatest sentence I had heard in a long time! PRAISE JESUS! I Snapchatted and called my husband immediately. Happy, happy tears were shed from both of us.
Our snaps to each other after we heard the exciting newsMy first DECAF coffee after finding out! Then I stopped liking coffee for many weeks, so sad!
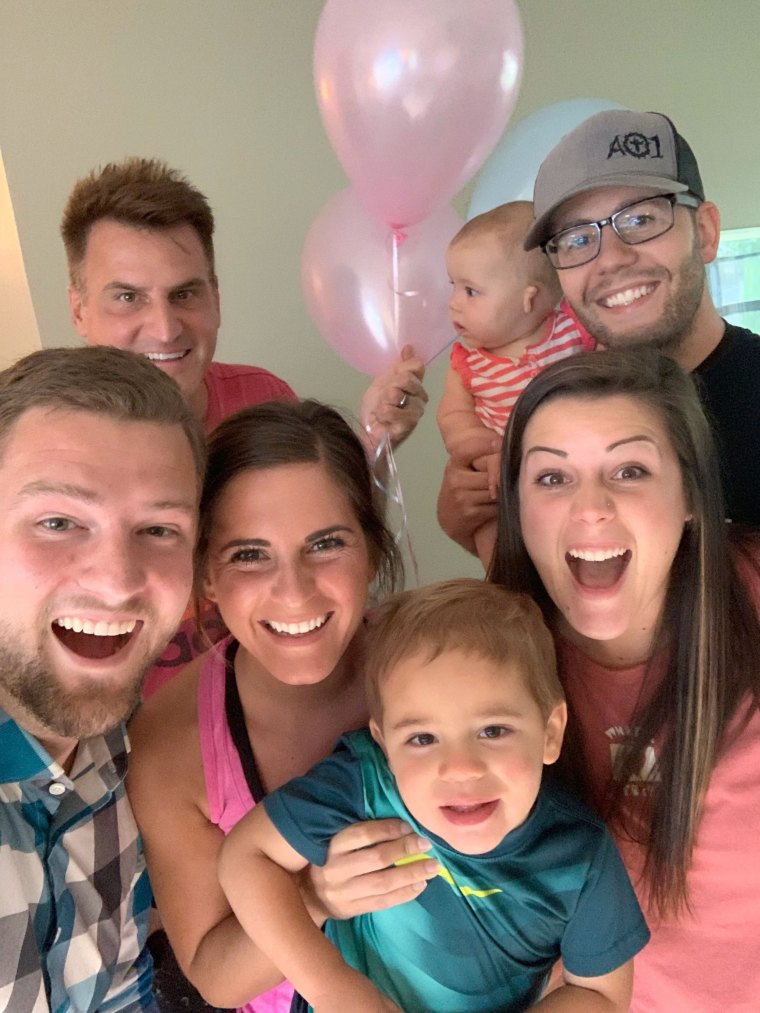
I wanted to tell everyone I knew about the sweet life inside me, so later that night we told our families. We surprised them with pink and blue balloons hoping they would connect the dots. My mom got it RIGHT AWAY and so did my sister-in-law. The rest of the family was a little confused, but once they got it, happy tears were shed and jumps for joy!
Unfortunately, a couple days later I had spotting and cramps. The joy I had once felt suddenly turned to worry. I knew I needed to rely on the Lord and His plan. I found myself praying for strength and peace yet again. The spotting and cramps lasted for weeks and after the first ultrasound we did not hear a heartbeat. I was told not to exercise and to take it easy. I was scheduled for an ultrasound the next week, in hopes baby was just too tiny to hear a heart beat at that point. This was the longest week of my life. I wasn’t sure if baby was okay or not. All I could do was pray and rest. GOD IS GOOD!! The next week we heard the heartbeat immediately! More happy tears!
We heard baby’s heartbeat for the first time!
From there, I had spotting off and on for a couple more weeks, but then one day it just stopped! The doctor appointments have gone smoothly since then (praying that continues from here on out). I did feel very nauseous and tired up until last week, but I never actually got sick! I just made sure to eat cheerios or crackers throughout the day to help with the nausea. I am now 16 weeks and am beginning to show a little bit. Baby is due in April 2020 and we plan to find out the gender in December. YAY!
Thank you all for your sweet messages on Instagram! I was so excited to share with everyone! Also, thanks for reading this post and following along. I will continue to keep you in my prayers!
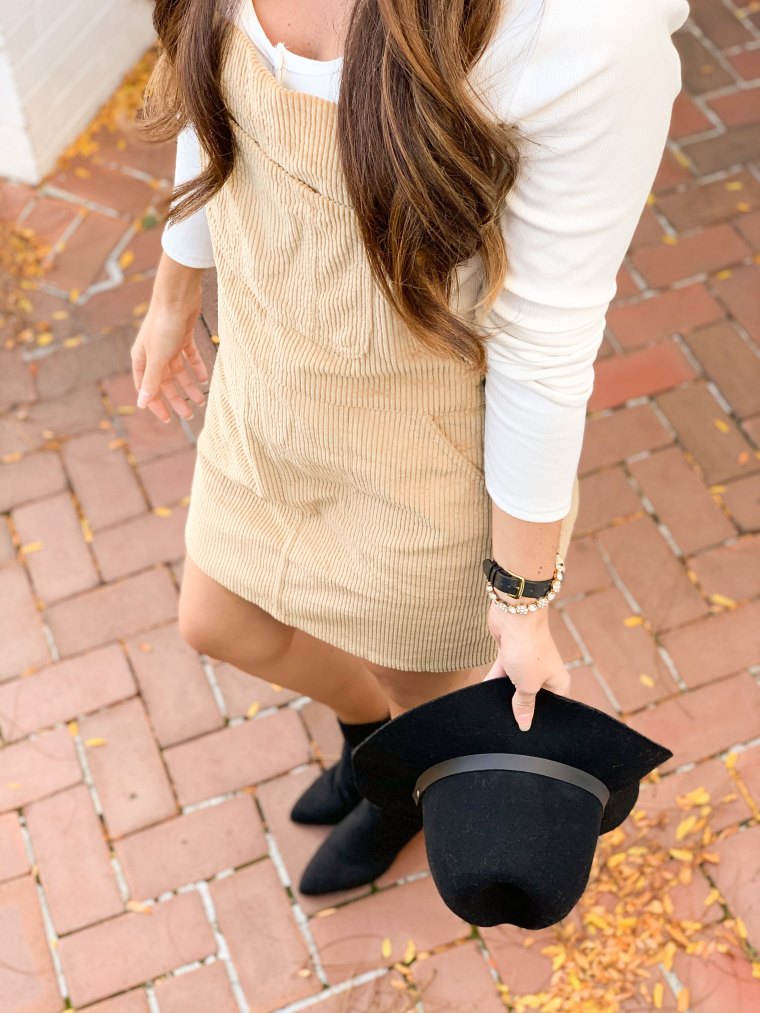
Have you been seeing corduroy in all the stores recently?! Me too and I love it! The warm, cozy fabric is perfect for these fall days. I also love the variety of fall colors I’m seeing these items in, too.
I fell in love with this jumper right when I saw it! I love the color for fall and I think the pocket and button details are super cute. I also love the price! This jumper is only $28! It is the perfect length (I am 5’5″) and a great material. If tan isn’t your color, it also comes in emerald green. Both colors are great for fall.
You can style this jumper many different ways.
Like shown above, you can throw on a basic henley underneath. This simple look is comfy and classic.
You can also wear a sweater or turtleneck under it. As we get further into fall and transition into winter, this is what I will be doing! Maybe switch out the booties for knee boots, too.
If you want a more layered look, pair your henley or sweater with an oversized flannel or long cardigan.
You can accessorize with a hat, scarf, tights, knee boots, animal print or whatever else you have lying around! Combat boots and tall socks would also look cute!
If you don’t care for the jumper look, maybe you would like a corduroy skirt better. Here is a skirt I wore last week! I absolutely love it and the price on this is great, too ($17)! I know I will be purchasing more corduroy as the season goes on. I hope you jump on this trend too!